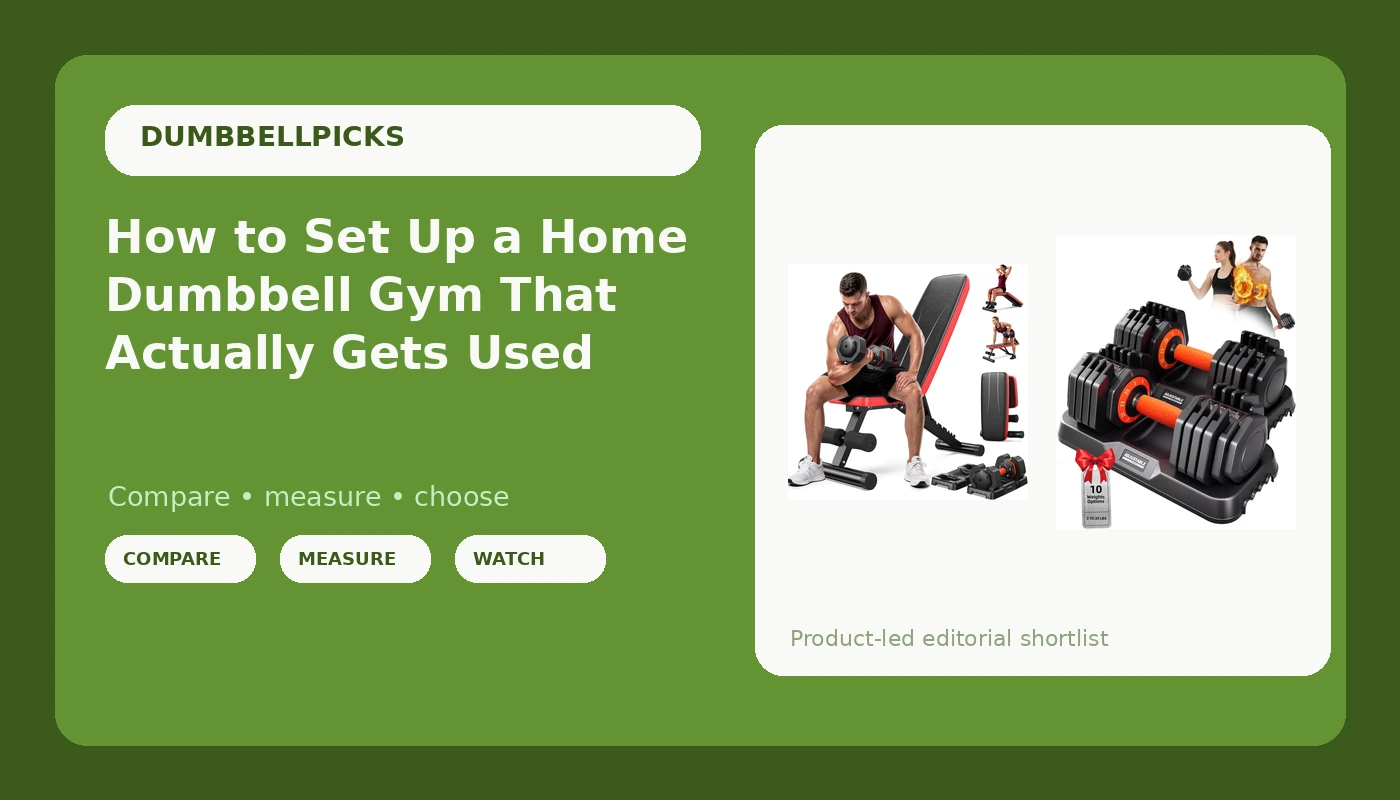
Most people shopping for adjustable dumbbells for home gym use get talked into the wrong set. The box promises a decade of training in one handle, the photo shows somebody curling in a sunlit garage, and six weeks later the mechanism is jammed at the 25-pound setting and the plates clang on every rep. I have watched that arc play out with clients more times than I want to admit, and it almost never has anything to do with the lifter.
It has to do with three things: the change mechanism, the knurling, and whether the plates stay tight under load. Get those right and a pair of adjustables will carry you from your first goblet squat to your first honest set of farmer carries. Get them wrong and you will be back on this site in three months, shopping again.
This is the setup I run with clients, start to finish: what to buy, where to put it, how to check it on day one, and what to do with it for the first twelve weeks.
Why you should trust me
I have coached for twelve years, starting in a two-car garage in Denver and ending up in a 4,000-square-foot facility that grew out of it. I have programmed for fourteen-year-old athletes and seventy-year-old grandmothers, sometimes on the same afternoon. My rule with any adjustable set is simple: I do not put it in a paying client's hands until I have cycled the mechanism far more times than a normal person would in a year, and until I have checked how the handle behaves with chalk on it.
I keep a log of which handles hold chalk and which ones shred skin. I care more about that log than I care about any spec sheet.
How I picked and how I tested
The two sets below are not ranked by weight range. Range is the easiest thing to print on a box and the least useful thing to compare. I rank by four checks, and I run all four before I will recommend anything.
- Mechanism feel. A dial that moves with two fingers under load beats a crank that needs a wrist brace. If it binds when your hands are chalky, it is a gadget.
- Handle and knurling. Run a hand down the handle. A diamond knurl with a little bite holds chalk. A smooth chrome tube turns a 40-pound row into a grip test.
- Plate tightness. Grab both heads and try to rock them. If the plates move before the handle does, the set will rattle by rep thirty.
- Footprint including the change zone. The dumbbell has to sit in its cradle to change weight, so the space you need is the length of the handle plus the cradle plus your hand.
Both sets here are built around mechanisms I am comfortable pointing clients at, and each one fits a different starting point. Here is who each is for.
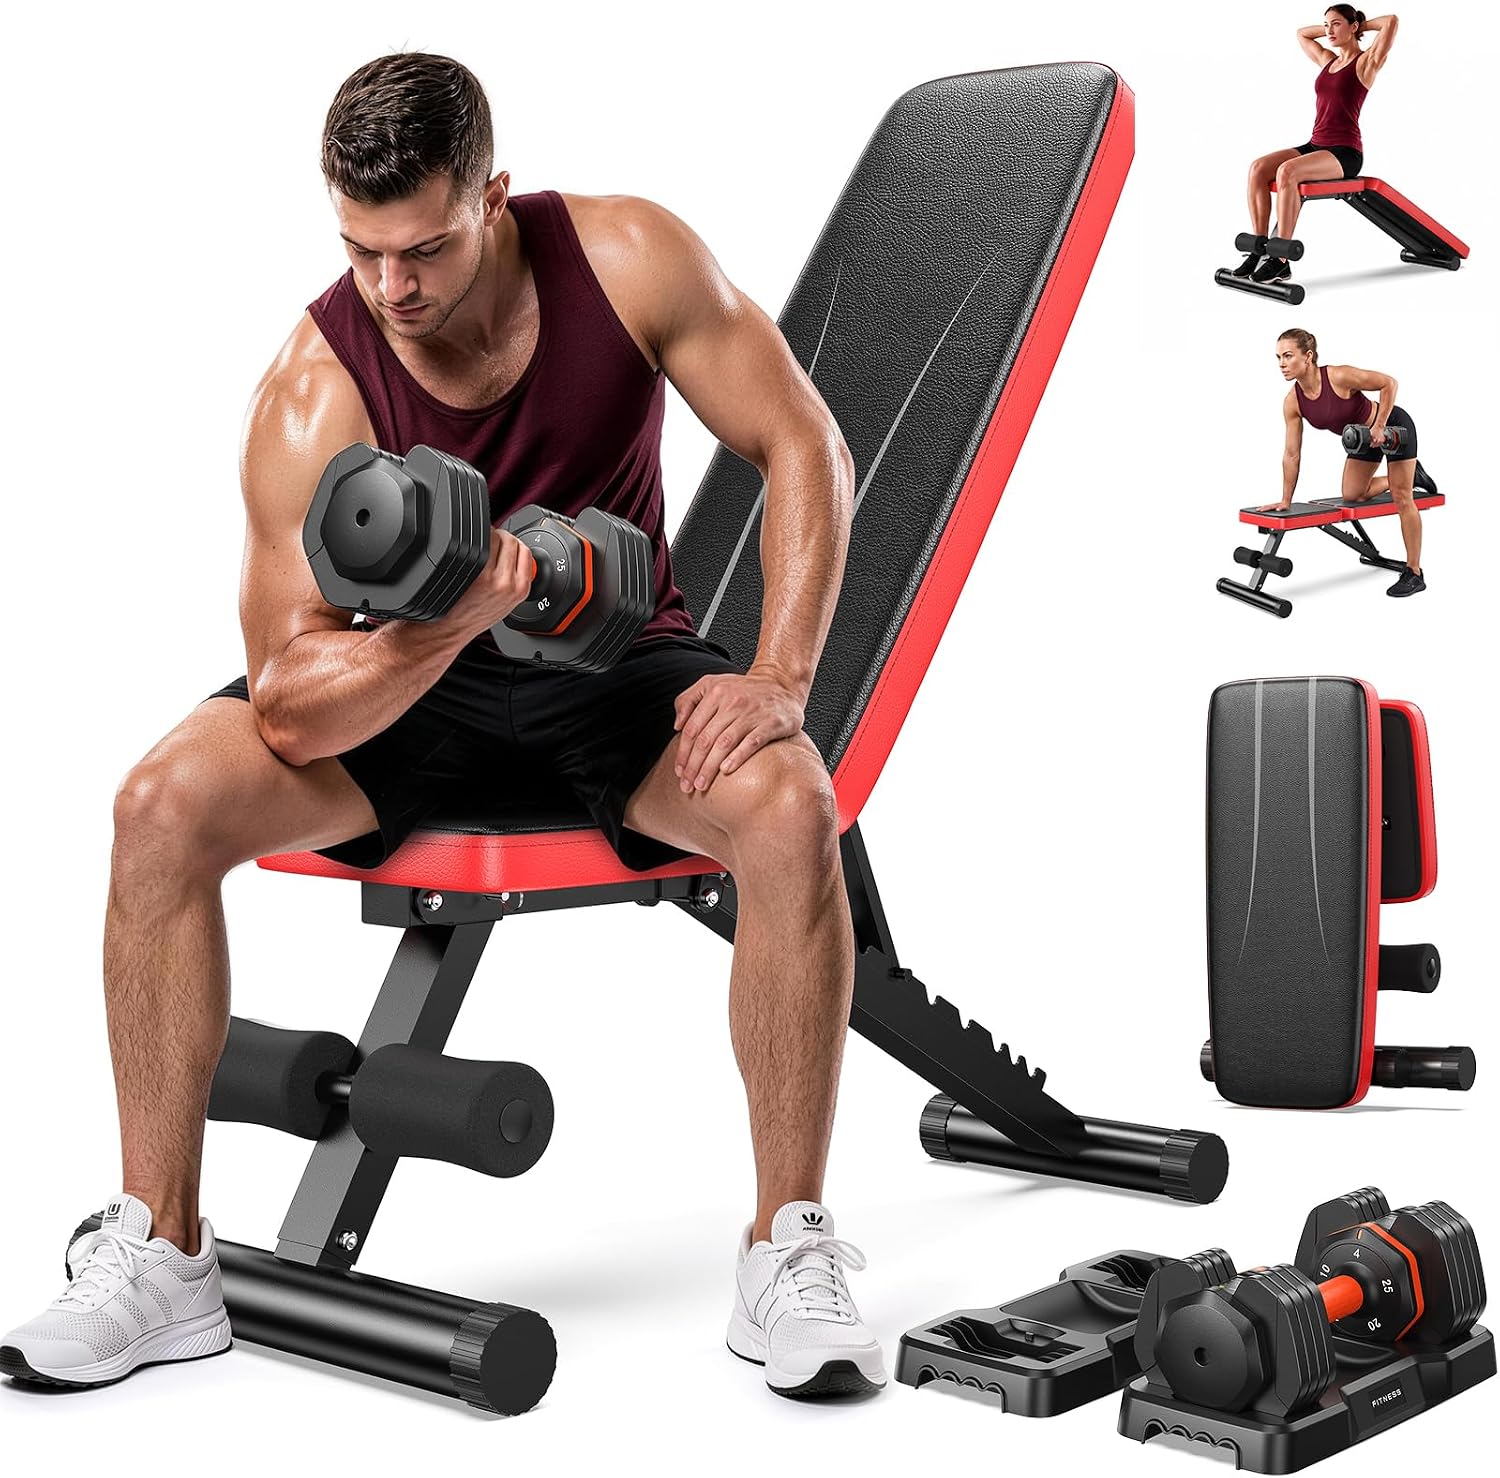
The all-in-one pick: LIFEOG Minimalist Strength System: 5-in-1 Adjustable Dumbbells & Foldable Weight Bench, The Ultimate Full-Body Strength Set
 Visit on Amazon →
This is the set I point at when someone is starting with nothing but a corner of a room. It bundles adjustable dumbbells with a foldable weight bench, and the bench is the part that actually changes your programming. Without one you are limited to floor press, goblet squats, rows off the floor, and carries. With one you get incline work, supported rows, step-ups, and a place to sit between sets, which sounds trivial until you are grinding through a 20-rep set with no back support.
Check current Amazon price. Foldable benches live or die on the hinge and the pad, so before your first working set, open it, lock it, and press down hard on the seat end with your hand. If you feel the frame flex more than a hair, check that both pins are fully seated before you load it. And set expectations: a folding bench will always feel slightly less planted than a fixed one under a heavy press. That is physics, not a defect.
Flaws but not dealbreakers: A hinge is one more thing to check every session. A bundled system also locks you into one brand's weight increments, and if you already own a bench you are paying for something you will fold up and forget about. Anyone with no equipment at all gets the most out of this one.
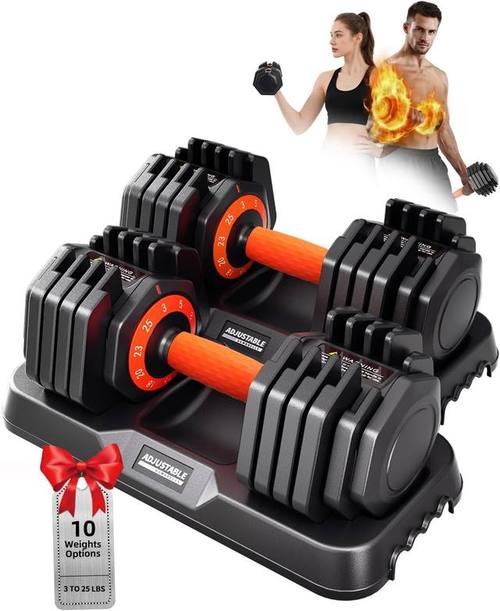
The standalone set: Adjustable Dumbbell Set 25lb/50lb, 10 in1 Adjustable Dumbbells for Home Gym
 Visit on Amazon →
This is the pair I point at if you already own a bench or you plan to train mostly on the floor. It comes in 25-pound and 50-pound configurations with ten settings each, and that matters more than the top number. Fine increments are what let you add five pounds to a press instead of ten, and jumping ten pounds a week is the fastest way to stall out in month two.
Check current Amazon price. On delivery, put the handle in the cradle, cycle it through every setting twice, then grab both heads and rock them. A set that is tight on day one usually stays tight. While you are at it, check the handle diameter against your hand: a thick handle feels great for rows and miserable for curls if your grip runs small.
Flaws but not dealbreakers: No bench in the box, so budget for one separately, and no rack unless you buy it as an add-on. If the set lives on the floor between sessions, you will be lifting it into position for every single set, which gets old by week three.
How to set up the space before the first rep
None of this takes more than an afternoon, and all of it prevents the problems people blame on the equipment.
Step one: measure the change zone, not the footprint. Stand where you will stand, set the dumbbell in its cradle, and reach for the dial with a chalky hand. You need clearance for the handle plus the cradle plus your knuckles. Most people measure the dumbbell alone and end up changing weight sideways in a hallway.
Step two: floor first. A rubber mat over concrete is the setup that survives. Carpet over plywood is the setup that makes your plates bounce and your bench wobble. If you are on a second floor, put down a stall mat anyway, both for the floor and for your neighbors.
Step three: put the cradles where you can see them from the bench. If you have to stand up and turn around to change weight, you will skip the change and train the same load for six weeks. Keep the cradles at arm's reach from the bench, off to the side you load from.
Step four: check plate tightness on day one, then monthly. Grab both heads, rock them, and listen. A dull thud is fine. A metallic click means something has loosened.
Step five: rehearse the change sequence empty. Cycle the mechanism through every setting with no weight on it, twice, before your first workout. You are teaching your hands the order of operations so you are not fumbling a dial at the end of a set when your forearms are shot.
Step six: keep chalk off the mechanism. Chalk on the handle is the point. Chalk in the dial or the lock is what kills adjustable sets. Wipe your hands on a towel before you change weight, not after.
Step seven: maintain the knurling with a stiff brush, never oil. A wire brush or a stiff nylon brush pulls chalk and dead skin out of the pattern. Oil on a handle is a slip hazard, and oil near a mechanism is worse.
The first twelve weeks
You do not need a complicated program to justify the purchase. You need three phases and enough patience to run them.
Weeks 1 through 4: two days a week, full body. Goblet squat, floor press or bench press, one-arm row, Romanian deadlift, and a carry at the end. Three sets of eight to twelve on each. This phase is about learning the change sequence and finding out what your working weights actually are. Log everything, because the fine increments only help if you know what you lifted last week.
Weeks 5 through 8: add a third day and split the work. Push, pull, legs, or upper and lower if you prefer. Introduce incline pressing, split squats, and heavier carries. This is where a bench earns its money, and where a set with coarse jumps starts to frustrate you.
Weeks 9 through 12: density and heavier top sets. Keep the rep ranges and cut your rest. Work one heavy top set per movement, then drop the weight and finish with a back-off set. By now the mechanism has been cycled hundreds of times, and you will know exactly which settings bind and which glide.
What goes wrong and how to avoid it
Most of the complaints I hear are predictable, and almost all of them are fixable.
A mechanism that jams is usually a mechanism with chalk or grit in it. Clean it before you blame it. Plates that wobble are usually plates that were never checked after the first month of use. Check them. Knurling that feels purely cosmetic is a real problem you cannot fix, and it is the single best reason to put your hands on a set before you commit to a program with it. A rubber smell that lingers is normal for a week and a problem for a month.
The one thing you cannot work around is drop tolerance. Adjustable sets are not fixed hex dumbbells, and a hard drop from overhead is how you turn a working set into a warranty claim. Set them down. That is a rule, not a preference.
The competition and why it lost
Fixed rubber hex sets are still the gold standard for feel and for surviving a drop. They are also expensive by the pound, they take up a rack's worth of floor space, and a pair of 50s costs more than most people want to spend before they know whether they will stick with training. If you have the space and the budget, buy them. If you are reading a setup guide, start adjustable.
Spinlock dumbbells with loose plates and threaded collars are for hotel gyms and desperation. The collars loosen mid-set and the plates clang.
Kettlebells are wonderful and they are not dumbbells. A pair of 35s will not replace a bench press.
Barbells and plates solve a different problem. A barbell is better for squats and deadlifts and worse for unilateral work, and a rack plus a bar plus plates is a bigger commitment than a pair of adjustables and a bench. Bands are a supplement, not a substitute, no matter what the packaging says.
What this all costs
I am not going to print prices, because they move and because a number here would be stale by the time you read it. Check current Amazon price on both links above and do the only math that matters: divide the cost by the number of training days you will actually use the set over the next three years.
Most people overestimate that number by half. Be honest with it. A set that gets used four days a week for three years works out to a few cents a session. A set that gets used twice and then lives under a bed costs the same as a gym membership you never cancel.
The equipment is not the hard part. The change sequence, the monthly wobble check, and the twelve weeks of logged sets are the hard part. Do those, and a pair of adjustable dumbbells in a corner of a Denver garage will outwork a lot of commercial gyms.
That is the job. Pick the mechanism you trust, put it on a mat, and start logging.