Most people build a home dumbbell setup backwards. They order the twenty-pair rack with the welded stand, wait three weeks for freight, and then discover that the 50s are the only pair they touch while the 5s hold down a shelf in the garage. I have watched that happen in garages all over Denver, and the fix is almost never a bigger set. It is two pairs, chosen correctly, and a program that actually uses them.
I have been coaching for twelve years. I ran a garage gym that grew into a 4,000-square-foot facility, and I have programmed for everyone from 14-year-old athletes to 70-year-old grandmothers. Dumbbells are the tool I hand people first, because a dumbbell forgives a sloppy position and a barbell does not.
Here is how to do it without spending money on weights you will never touch.
Why you should trust me
Twelve years of coaching, a garage gym that turned into a real facility, and a training log full of clients who did not care about my opinions on equipment until their hands started hurting.
I test dumbbells the way clients use them. Drop tests on concrete. A hand run down the length of the handle to feel where the knurl bites and where it stops. A full block of curls, presses, rows, and farmer carries before I form an opinion. I keep a log of which handles hold chalk and which shred skin, because that log is worth more than any spec sheet a manufacturer prints.
My test is not a number. It is whether I would put the dumbbell in a paying client's hands on a Monday morning.
What actually matters when you buy
Five things, in order.
Head shape. Round heads roll. Hex heads stay where you set them. On a garage floor with any slope at all, that is the difference between a rack and a chase across the room at 6 AM. Hex rubber is the home gym standard for a reason, and it is not marketing.
Coating. Rubber absorbs a set-down and protects the floor. Urethane is tougher and pricier. Neoprene is quiet, comfortable in a bare hand, and made for light weight and high reps. Chrome looks great on a shelf and tells you nothing about how the dumbbell behaves.
Handle diameter and knurling. A thick handle is wonderful for carries and miserable for pressing if your hands are average sized. Knurling should bite without tearing. Cosmetic knurling, the shallow decorative kind, is worse than no knurling at all, because it gives you false confidence right up until your grip fails with a dumbbell over your face.
Plate integrity. If a plate shifts or clicks mid-set, the assembly is not tight. Welds or a proper lock should hold the plates dead still. The weight plates should not wobble. If they wobble, the welds are lying to you.
Weight accuracy. Labels that drift more than a couple of percent turn progressive overload into guesswork. If your "25" is really 23, you will stall on a lift and blame your program instead of the iron.
How to choose your first two pairs
This is the part people overthink. It is three steps.
Step one: find your working press. Pick up a pair and press it overhead for ten clean reps. Not ten grindy reps, ten clean ones. That is your first pair. It should feel almost easy on rep one and honest on rep ten.
Step two: size up for pulling and squatting. Rows, goblet squats, and carries put you in a stronger position than an overhead press, so they can take more weight. Buy one size heavier than your pressing pair and use it for everything where the lever arm is shorter.
Step three: stop. Two pairs will cover six months of training if you program them properly. A third pair before you have maxed out the first two is a shopping habit, not a training decision.
The two pairs I would start with
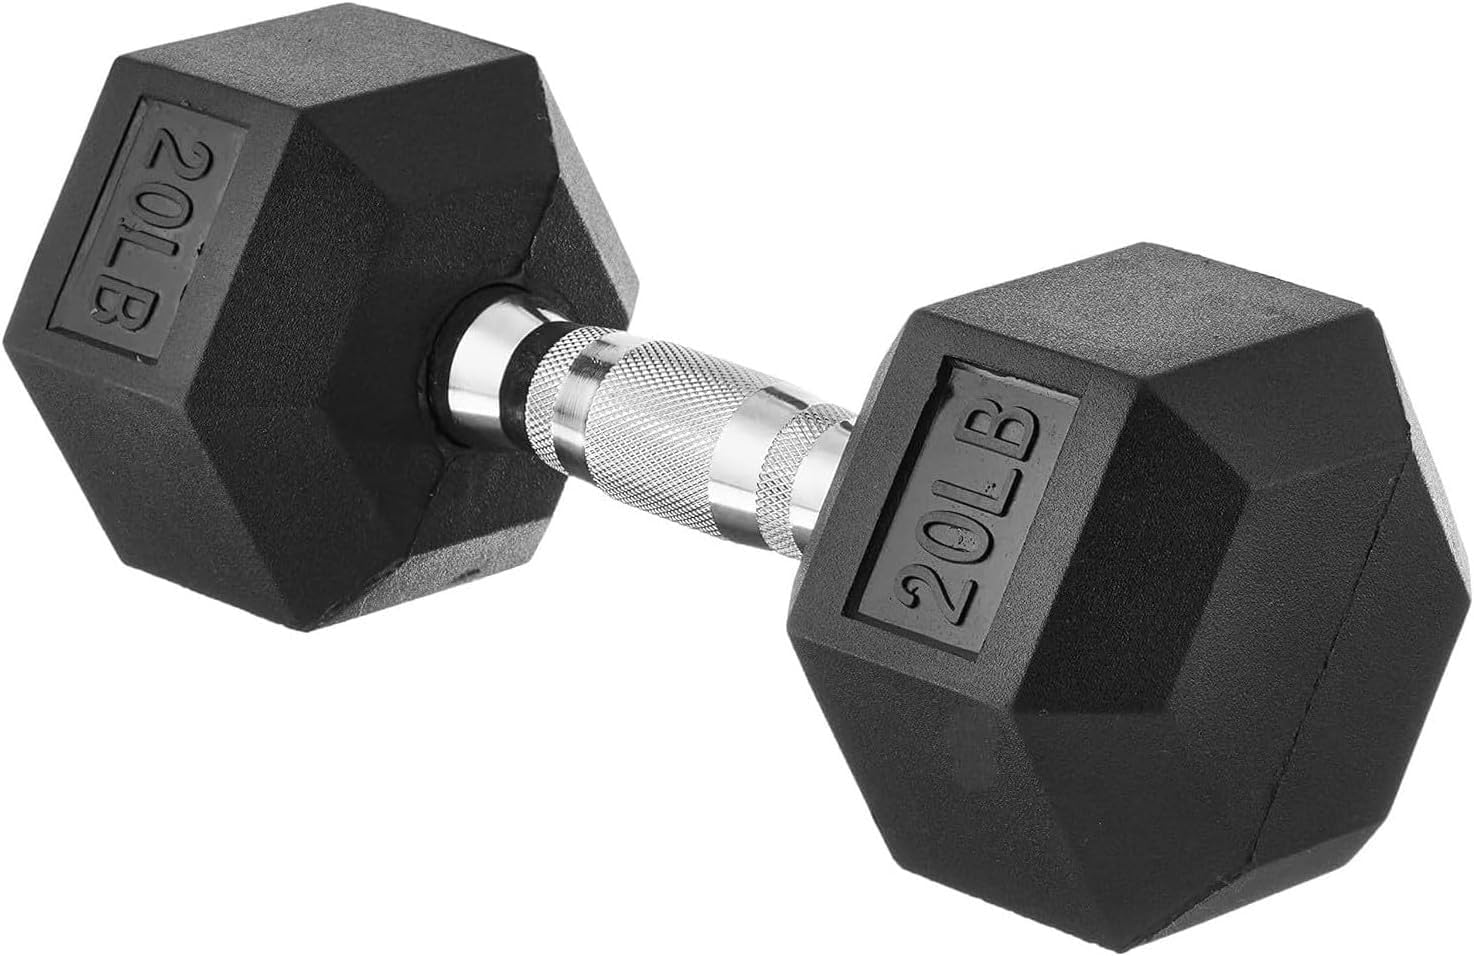
Our pick: Amazon Basics Rubber Hex Dumbbell Hand Weight
 Visit on Amazon →
Check current Amazon price. This is the anchor of a sensible home dumbbell setup, and it wins on the two things that matter most: the heads are hex, so they sit still on a mat instead of rolling under the car, and the heads are rubber coated, so setting them down is not an event.
The handle is a straight steel bar with a moderate knurl. It is not a competition knurl and it is not trying to be. It holds chalk reasonably well and it will not tear up your palms during a set of twenty curls, which is exactly what you want from a dumbbell that lives in a garage and gets used by everyone in the house.
Flaws but not dealbreakers: This is not a finely pitched, razor sharp competition handle, and if that is what you want you are shopping in a different tier at a different price. Rubber has an out-of-the-box smell, so let them air out for a day or two before you train in a closed room.
If you press with both hands, make sure you have two. Anyone who wants one pair that can handle presses, rows, goblet squats, and farmer carries should start here.
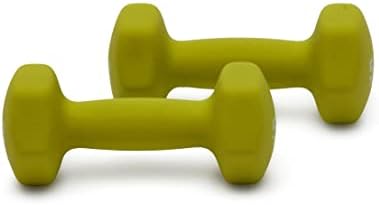
Budget pick: Amazon Basics Neoprene Dumbbell Hand Weights for Exercise and Muscle Toning
 Visit on Amazon →
Check current Amazon price. People dismiss neoprene as the beginner corner of the rack, and that is a mistake. This is the pair for warm-up sets, lateral raises, curls, and the high-rep accessory work that builds the connective tissue a new lifter has not developed yet.
The neoprene coating is quiet, it does not mark hardwood or vinyl plank, and it is genuinely comfortable in a bare hand. When you are doing three sets of twenty lateral raises, hand comfort is not a luxury, it is the reason you finish the set.
Flaws but not dealbreakers: Do not press heavy with these. Neoprene will not survive being dropped, and the smooth coated handle means chalk has nothing to grab, so skip it. These are light-weight tools, and they are excellent at being light-weight tools.
Anyone in an apartment, anyone starting from zero, and anyone doing rehab or high-rep arm work will get real use out of this pair.
How to set up the space
Floor. Rubber mats over concrete, or at minimum a horse stall mat where you set the weights down. Concrete will crack, tile will chip, and a dropped dumbbell on either is an expensive lesson.
Storage. Hex heads do not need a rack to behave, which is one of their quiet advantages. If you do buy a rack, put the heaviest pair on the bottom and check that it does not tip when you pull a weight off the top. You do not need a set that does not rattle and a rack that does tip.
Ceiling. Stand where you plan to press and put your hands overhead before you buy anything. If you cannot fully extend your arms with a dumbbell in each hand, you are pressing outside, on a bench, or with a shorter range of motion.
Chalk. Use it on steel handles only. Chalk on neoprene makes a paste that is miserable to clean off.
How to program the first eight weeks
You have two pairs. Here is how to make them carry you for two months.
Pick five movements. One press, one pull, one squat, one hinge, one carry. An overhead press, a bent-over row, a goblet squat, a Romanian deadlift, and a farmer carry will train your whole body with nothing but two pairs of dumbbells.
Run three sets of 8 to 12. Rest as long as you need. Form first. The dumbbell is the tool. The rep quality is the workout.
Progress by reps before weight. Stay with your lighter pair until you hit 12 clean reps on all three sets. Then move to the heavier pair and drop back to 8. That is the whole progression model, and it works for years.
Finish with carries. Pick up the heavier pair and walk for distance or time. This is where grip, posture, and your tolerance for discomfort all get built at once.
Log it. Write down the weight and the reps. If you do not know what you did last week, you cannot add to it this week.
Mistakes that cost you money
Buying a full set. You will use two or three pairs for the first year. Buy those.
Buying adjustables first. Adjustables are a real option, but the mechanism is the whole product, and a cheap one will jam with chalk and lose its settings. Learn what you actually lift with fixed pairs, then shop the mechanism when you know your working weights.
Ignoring handle diameter. A handle that is too thick turns a press into a grip exercise.
Storing on a rack that tips. Check the base before you load it.
Chalking neoprene. See above. It does not help and it makes a mess.
Letting the 5-to-50 fantasy drive the purchase. You do not need 5-50 in one set. You need a set that does not rattle and a place to put it.
Questions I get every week
Rubber hex or neoprene first? Rubber hex. It does more jobs and it survives more mistakes.
How many pairs do I need to start? Two. A working press pair and one size up for pulls and squats.
Are adjustable dumbbells better? They are a different tool. They save space and they add weight in small jumps, but the mechanism is a wear item and a failure point. Fixed pairs have no mechanism to fail.
Do I need a rack? Not with hex heads. A rack is convenience, not function, until you own enough weight that picking it off the floor is a chore.
The bottom line
Two pairs, one mat, and a program you actually run will beat a twenty-pair rack that you never touch. Start with a rubber hex pair for the real work and a neoprene pair for the light, high-rep, bare-handed stuff. Check current Amazon price on both, put them where you train, and give the program eight weeks before you decide you need anything else.
The dumbbell was never the complicated part. Buying the right two is.