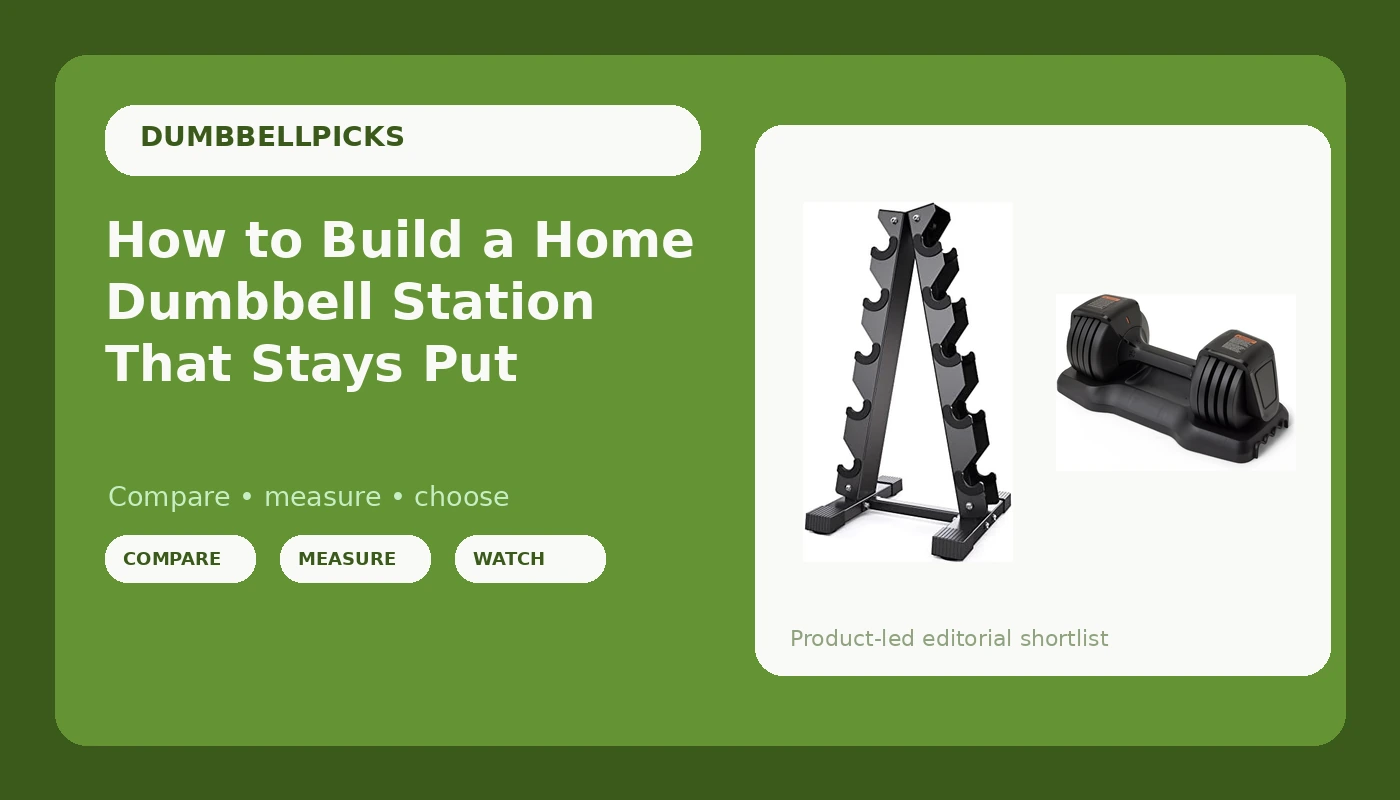
Most home gyms do not fall apart because of the dumbbells. They fall apart because of where the dumbbells live. I have walked into hundreds of garages where a few hundred pounds of iron sits in a pile on a rubber mat, and every one of them has the same three problems: nothing is at the height your hands want it, the pile is in the way of the car door, and the light pair you need is always at the bottom.
Building a home dumbbell station is a 45 minute job. It costs less than one good pair of hex dumbbells. The trick is doing it in the right order, because a rack with nothing to hold is a shelf, and a set of weights with no home turns back into a pile within a week.
I have set up weight rooms in garages, spare bedrooms, basements with six-foot ceilings, and one apartment balcony in Denver that I still feel guilty about. The layout changes every time. The order does not. Rack first, weight second, then the zone around them.
Here is how to do it, what I look for in each piece, and the mistakes that make a home gym annoying for years.
Why you should trust me
I have been a strength coach for 12 years. I started in a single-car garage with a bar, a bench, and a pair of 40s, and that garage turned into a 4,000-square-foot facility with 30 athletes on the floor at a time. I have programmed for 14-year-old athletes and 70-year-old grandmothers, and I have watched both of them use the same rack.
Along the way I started keeping a log of small things: which handles hold chalk after a month, which collars loosen mid-set, which racks walk across the floor when someone re-racks a heavy pair. That log is the reason this article is short. There are only two pieces you need to get right before anything else.
What I look for in a dumbbell station
Four things, in order.
Stability under a re-rack. The moment that damages a home gym is not the lift. It is the re-rack, when a tired person drops a dumbbell into a cradle from six inches up. The rack either absorbs that or it walks. A-frame stands with a wide base absorb it. Narrow vertical stands do not.
Footprint. A rack that eats a third of the garage is a rack your spouse will ask you to move. Measure the base, then measure the gap between the car and the wall.
Height. The top tier should land between your knee and your hip when you are standing. If the heaviest pair sits above hip height, you will stop using it, or you will hurt your back getting it down.
Mechanism. On an adjustable dumbbell, the mechanism is the product. A dial or a lock that jams once with chalk on your hands is a mechanism you will stop trusting.
Everything else, the color, the finish, the branding, is decoration.
The order to buy things in
Rack first. Always.
A pair of dumbbells on the floor is a foot injury waiting for a tired morning. A rack is the cheapest part of the whole setup and it is the part that decides whether you actually train or spend ten minutes moving things around. Get the stand in place, then add weight to it as you can afford it.
The second reason is psychological. An empty rack in the corner is a visual reminder. A pile of dumbbells under a workbench is a chore.
The two pieces this station is built around
Everything below is what I would put in a first home setup, or in a garage that has outgrown a pile on the floor.
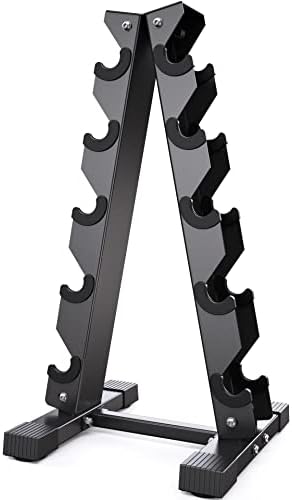
The foundation: Dumbbell Rack Stand Only, Weight Rack for Dumbbells Compact A-Frame Home Gym Space Saver, 480/800 LBS Weight Capacity
 Visit on Amazon →
The A-frame shape is the right shape for a home gym, and it is right for one reason: the base is wider than the load. That is what stops the walk. The listed capacity runs 480 to 800 pounds depending on how you load it, which is more than most home collections will ever reach.
Read the name carefully before you order. This is the stand only, and no dumbbells come with it. That is actually how I prefer to buy a station, because it lets you match the rack to the weight you own instead of the other way around.
Check current Amazon price before you commit, and check the tier spacing against the diameter of your heaviest dumbbell heads. A hex head that does not sit in the cradle is a dumbbell that ends up back on the floor.
Flaws but not dealbreakers: A-frame racks trade a little floor space for stability. If your garage is tight, tape the base footprint on the floor before you commit to a wall.
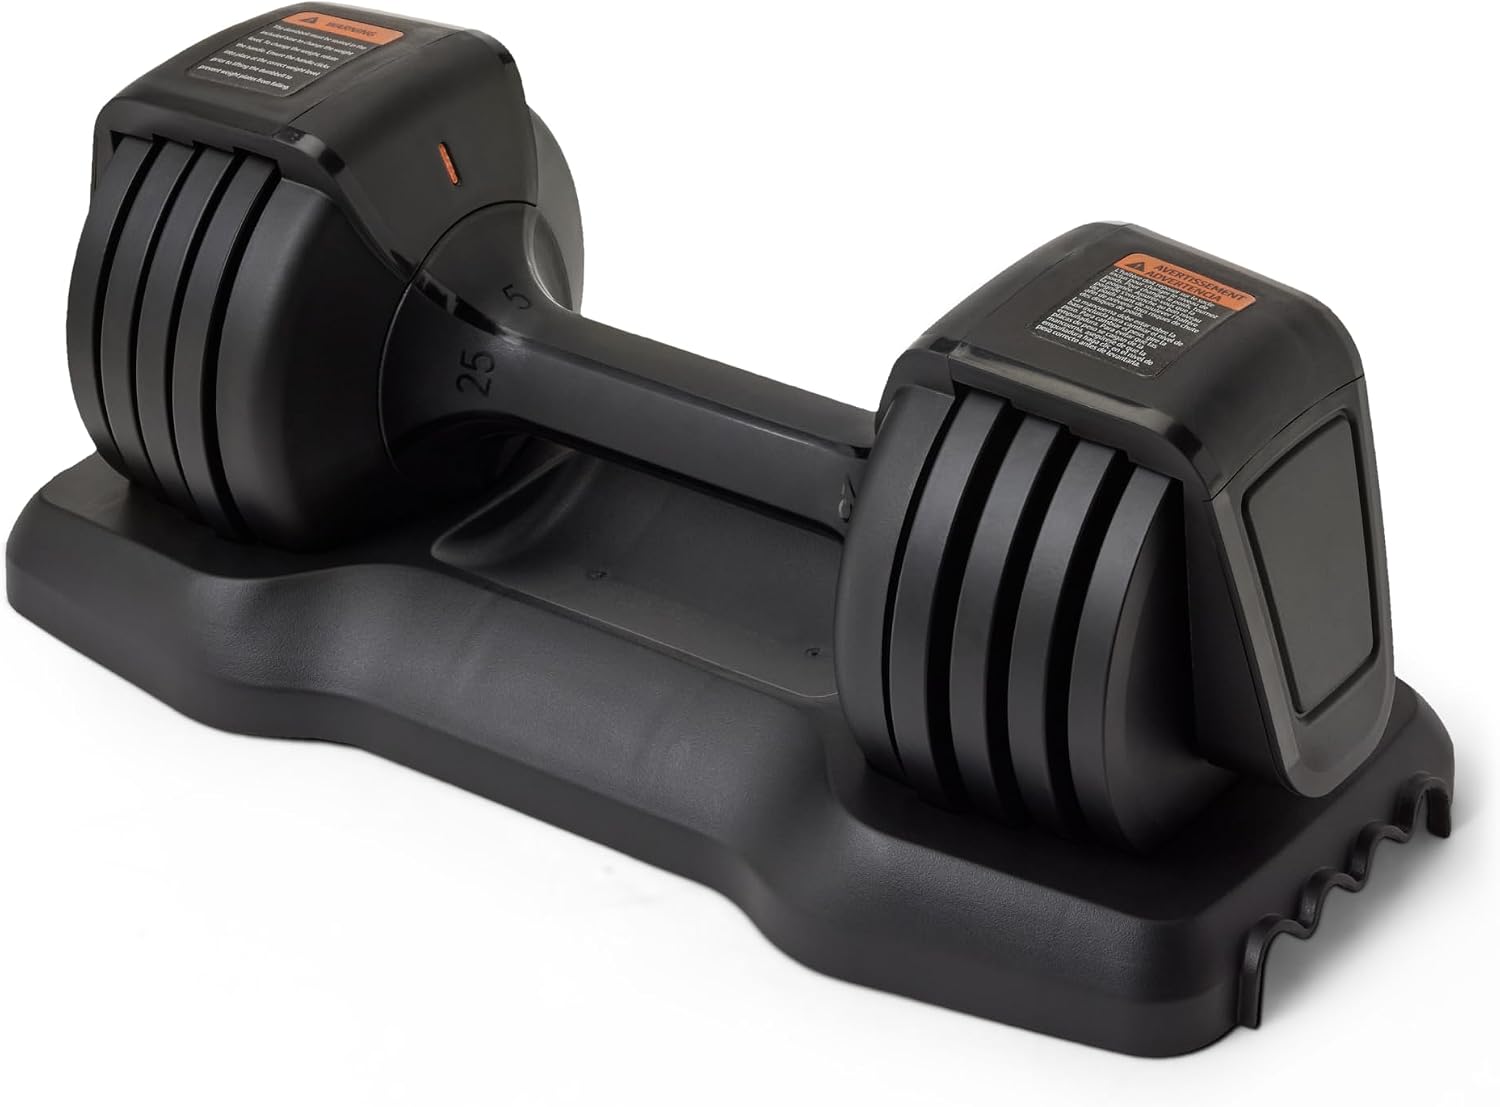
The starter set: Amazon Basics Adjustable Dumbbell, 25 lb
 Visit on Amazon →
A 25 pound adjustable dumbbell is the sensible first purchase for most people, and I mean that as a compliment. It is light enough to learn the mechanism on, heavy enough for lateral raises, curls, rear delts, and the endless shoulder work that builds a base.
Check the listing quantity before you order so you know whether you are getting one dumbbell or a pair. That is the most common mistake I see people make with adjustables, and it is a two-second check.
Check current Amazon price. The reason to start here rather than with a full 5 to 50 set is simple: most people quit a home program around month three, and a cheap set that sits unused hurts less than an expensive one. If you are still training in month six, you will know exactly which weights you actually reach for.
Flaws but not dealbreakers: Adjustable dumbbells are longer than fixed dumbbells at the same weight. That changes the feel on presses and it changes how they sit in a rack, so measure before you buy both pieces at once.
The actual setup workflow
Forty-five minutes, one person, no special tools.
Step one: pick the wall, not the middle. The station goes against a wall with at least six feet of clear floor in front of it. If you have to turn sideways to do a curl, you picked wrong.
Step two: measure the base and mark it. Tape the footprint on the floor. This takes two minutes and saves you from finding out that the rack blocks the car door by an inch.
Step three: decide on the surface. Concrete is fine. If you want a mat, use one that does not slide. A rack on a sliding mat is a rack that walks.
Step four: load the bottom tier heaviest. Heavy low, light high. This is the rule that keeps a rack from tipping when someone grabs a top-tier weight with one hand.
Step five: leave one tier empty. An empty tier is your overflow and your staging area. It is also where the 10s go when you are mid-superset and do not want to re-rack properly.
Step six: set the working zone. Six feet of clear floor, a wall for chalk, and nothing breakable within a dumbbell's radius. If you drop a weight, you want it to land on rubber and nothing else.
Step seven: test it with a re-rack. Pick up the heaviest pair you own, do ten reps, and re-rack them the way you would when you are tired. Then look at the tape marks on the floor. If the rack moved, the base is too narrow or the mat is too slick.
Step eight: label the tiers. Ten seconds of labeling saves a minute of hunting every session, and a minute per session is four hours a year.
What this guide leaves out
Spinlock dumbbells. The collars loosen mid-set, the plates clang, and you spend more time tightening than lifting.
Round-head rubber dumbbells. They roll. Hex heads stay put, and in a home gym where the weight is often on the floor between sets, staying put matters more than the look.
Full 5 to 50 fixed sets. They are the gold standard in a real gym and they cost more than most people's first car. You do not need every weight. You need the weights you use, and a rack that holds them without rattling.
Two-tier vertical racks with a narrow base. They look tidy in photos. Then someone re-racks a 50 with one hand and the whole thing leans.
What it costs, and the math that matters
I am not going to quote prices here, because they move. Check current Amazon price on both pieces before you buy, and compare that number to what you would spend on a gym membership over two years.
The rack is the cheapest line item in the whole setup and it is the one that decides whether the setup gets used. That is the whole argument. A stand costs less than a couple of months of a mid-tier gym membership, and it turns a pile of weights into a station you can walk up to and start working.
Cost per day over three years, on a piece of equipment that does not wear out, is close to nothing. The dumbbells are the part you will replace as you get stronger. The rack is the part you keep.
The short version
Rack first, then weight. Heavy low, light high. Six feet of clear floor, a non-slip surface, and a re-rack test before you call it done.
That is a home dumbbell station. It is not a project. It is an afternoon, and it is the difference between a garage you train in and a garage you walk past.