Most people build a home dumbbell setup backwards. They find the biggest set on sale, stack it in a corner, and figure out six months later that half the pairs never leave the rack and the collars on the cheap ones have already gone loose mid-set.
The order matters more than the brand. Decide whether you want fixed hex dumbbells or an adjustable pair. Then decide which weights you actually train with. Then buy the handle quality you can live with for a decade.
I have coached for twelve years, starting in a two-car garage and ending up in a 4,000-square-foot facility outside Denver. In that time I have watched clients train on everything from forty-dollar spinlock sets to a full rubber hex rack, and the gear that survives is almost always the gear that was chosen in the right order, not the gear that was on sale.
Why you should trust me
Twelve years of coaching, everyone from fourteen-year-old athletes to seventy-year-old grandmothers, all of them grabbing the same handles off the same rack. I keep a log of which handles hold chalk and which shred hands, and I have run a full program of lifts on the gear in my own gym: curls, rows, presses, farmer carries, and the kind of drops that happen at 6 AM when a client is late for work.
That log is why I care about knurling more than almost anything else in this article. A dumbbell is a handle first and a weight second.
How I picked and how I tested
This is not a brand roundup. It is the order of operations, with two dumbbells that represent the two directions a home gym can go: one fixed rubber hex dumbbell sold by the single weight, and one adjustable pair that covers a full rack's worth of range in the footprint of a shoebox.
Everything I look at gets the same four checks.
The knurling. Run a hand down the handle. It should grip chalk and skin without cutting either one. Cosmetic knurling, the shallow decorative kind you see on budget sets, is worse than smooth because it feels like grip without providing any.
The mechanism. On an adjustable, the selector is the part that fails. I cycle the mechanism far past what a normal trainee would do in a year, and I do it with chalk on my hands, because chalk is what jams a dial or a pin that was built with loose tolerances.
Plate tightness. Grab the head and twist. If the plates shift, the weld is telling you something. A dumbbell that clanks on rep one clanks forever.
Label honesty. If a pair is labeled 50 pounds and the plates add up to 47, that is a problem for programming and a bigger problem for your logbook.
A dumbbell only has to do two things: hold the weight and stay in your hand. Both of these do that, in different ways.
The two directions a home dumbbell setup can go
There is no universal right answer here, only a right answer for your floor space, your budget, and your training age. Here is how the two options differ in practice.
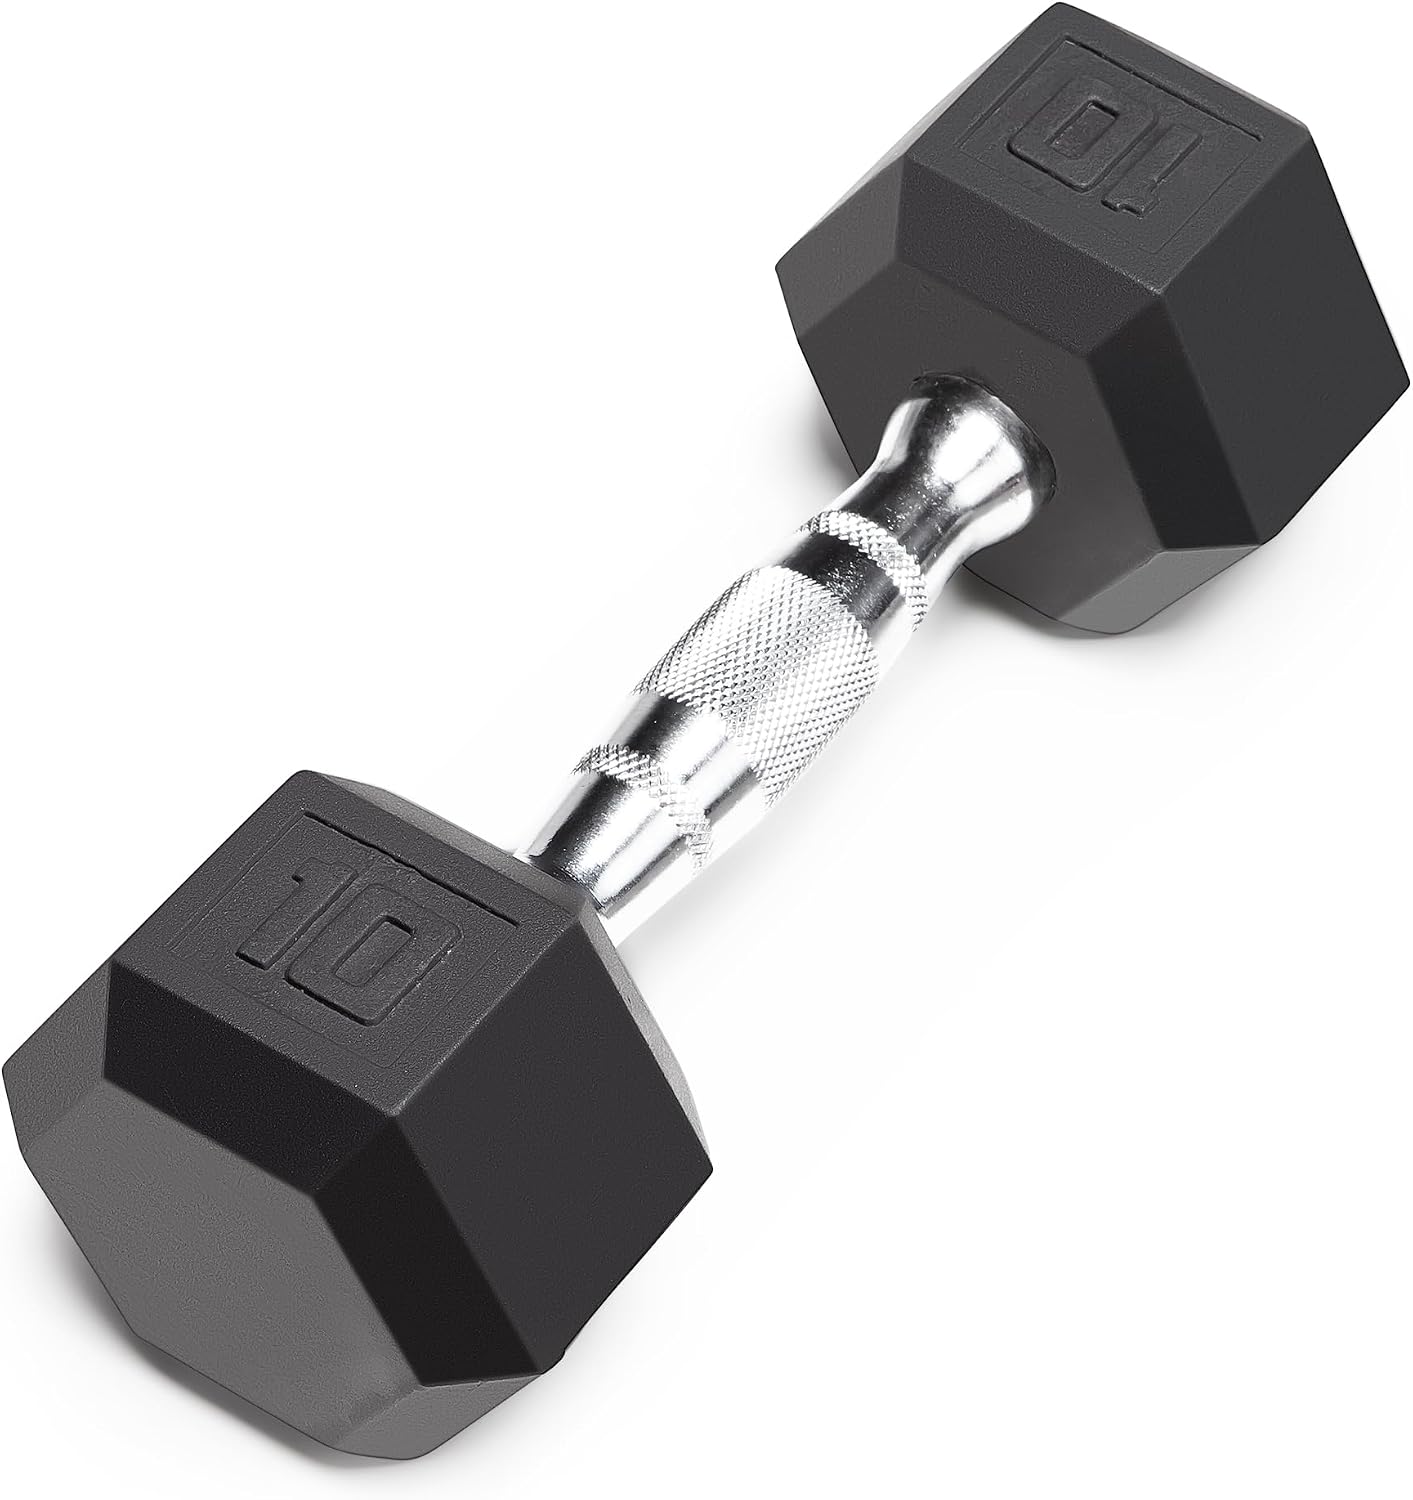
The workhorse pick: Marcy Classic Rubber Hex Dumbbell - 5 to 70 lbs. Single Weight, Sold Individually
 Visit on Amazon →
Hex heads are the home gym standard for one boring reason: they do not roll. Round heads roll off a bench, roll under a car, and roll into your shin while you are setting up a set of rows. The six-sided head sits still on the floor and stacks against a wall without a rack.
The rubber coating on this Marcy does the job it is supposed to do, which is protect your floor and your plates from each other. The tradeoff with rubber hex is always the same: it is bulky, it is sold one at a time, and the price scales with the weight. That is the honest cost of a fixed set, and it is why I tell people to buy pairs in the range they actually train, not a full ladder from five to fifty.
Because these are sold individually, you can build asymmetrically if you need to. Most people do not. Buy in pairs unless you have a specific reason not to.
A note on the range: the smaller sizes are for warmups, lateral raises, and the accessory work that makes shoulders and elbows feel good. The heavier end is where your pressing and rowing lives. If you can only buy four dumbbells this year, buy the two heaviest pairs you can press for a hard set of eight.
Flaws but not dealbreakers: Rubber hex takes up more floor space per pound than anything else in this guide, and the coating has a smell when it is new that fades over the first week or two. Give it air.
Anyone with a dedicated corner or a rack, and anyone who wants a dumbbell that will outlast the house it sits in, should start here.
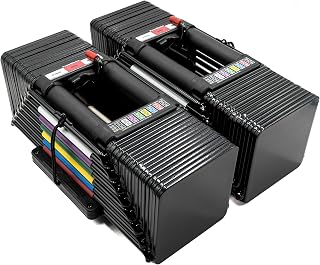
The space-saving pick: PowerBlock Elite USA 90 Pound Adjustable Dumbbells, Sold in Pairs, 5-90 lb.
 Visit on Amazon →
This is the other direction, and for a lot of people it is the smarter one. A pair covers five to ninety pounds per hand, which is a range that would otherwise be a twelve-pair rack and a small mortgage. The block design is space-efficient and it is built like a piece of equipment rather than a gadget.
The honest caveat is the feel. A block dumbbell is not a round dumbbell, and the cage around your hand takes some getting used to. If you have ever done a set of curls with a block and felt your knuckles brush the frame, you know what I am talking about. Some lifters never notice it. Some never get past it. That is a personal thing, not a quality thing.
What I do care about is the selector. The mechanism has to change weight cleanly with chalk on your hands, because it will happen. Warm gyms, sweaty hands, and a hurried set change at the end of a workout are the conditions that jam cheap adjustables. This one is built to a higher tolerance than the dial-based adjustables that dominate the category.
Flaws but not dealbreakers: You cannot drop these like a rubber hex dumbbell, and you should not try. Adjustables of any kind get set down, not thrown. If your training style involves finishing a set by releasing the weight from chest height, buy fixed.
Anyone in an apartment, a basement with a low ceiling, or a garage where every square foot is contested should look here first.
How to build your setup, step by step
Step one: Pick the direction. Fixed hex if you have floor space and know your working weights. Adjustable if space is tight, if you are still getting stronger fast, or if you want ninety pounds per hand without a rack. Do not buy both at once. Start with one, train on it for eight weeks, then decide what is missing.
Step two: Find your working weights. Write down the dumbbell weights you would use for a hard set of eight on a press, a row, and a curl. Not the weights you wish you used. The ones you actually use. Those three numbers are your shopping list.
Step three: Buy the middle, not the ends. Beginners buy the light pairs and outgrow them in a month. Ego buys the heavy pair and gets hurt. Buy the weight you can press for eight clean reps, plus one pair lighter for warmups and isolation work.
Step four: Check the handle before you commit. Handle diameter matters as much as knurling. A thick handle is harder to hold at the same weight, which is useful for grip work and annoying for everything else. Run a hand down the handle. If it feels slick, it will feel slicker with sweat on it.
Step five: Test the tightness on arrival. Grab a head in each hand and try to twist the plates against each other. If anything shifts, contact the seller before you load it. Do this before the return window closes, not after.
Step six: Plan for the floor. Rubber hex and adjustable blocks both land on your floor eventually. A single stall mat under your training area costs less than the repair to a cracked tile, and it also keeps the dumbbells from walking across a smooth garage floor between sets.
Step seven: Program around what you own. If you own one pair of forty-fives, your training plan should not be built on a rack of increments. Write your sessions around goblet squats, high-rep pressing, tempo work, and unilateral movements, all of which get more out of a single pair than straight sets of eight to twelve ever will. The dumbbell is the tool. The rep quality is the workout.
Step eight: Add one pair per training block. Not per paycheck, per block. Eight to twelve weeks, one addition, chosen based on what your logbook says you ran out of. That is how a good home setup gets built without a single regret purchase.
What to skip, and why
Spinlock dumbbells with threaded collars. The collar loosens mid-set and the plates clang. They belong in a hotel gym, and even there they are a compromise.
Round-head dumbbells. Every round head I have ever trained next to has rolled. Hex heads stay put. This is not a preference, it is physics.
Any adjustable that claims a huge range for a small price. The mechanism is where the money goes. A cheap dial with a wide range is a wide range you will not be able to use for long.
Full ladders from five to fifty in one purchase. You will use six pairs out of twelve, and you will have paid for all of them. Buy the working weights first and let the ladder fill in over a year.
A rack before you have dumbbells worth racking. A rack solves a storage problem. It does not make a bad pair of dumbbells better.
What this all costs
I am not going to quote you a number, because prices on this category move constantly and the number you see today is not the number you will see next month. Check current Amazon price on both and do the math against your own budget.
What I will tell you is how to think about the cost. Fixed rubber hex is priced per pound, sold one at a time, and it lasts essentially forever with no maintenance. You pay once and you pay in floor space. Adjustable is priced per pair, covers a range that would otherwise be a rack, and the money goes into the mechanism instead of the plates. You pay once and you pay in care, because you set them down instead of dropping them.
The cost-per-year math favors whatever you actually use. A pair you train on four days a week for ten years is cheap at almost any price. A rack you walk past because the collars are loose and the heads roll is expensive even when it was on sale.
The bottom line
Build the setup in order. Pick fixed or adjustable based on your floor, not your ego. Buy the working weights instead of the full ladder. Check the handle and the plate tightness before the return window closes. Add one pair per block and let the logbook tell you what to buy next.
That is the whole job. Do it once and your dumbbells will outlast most of the other decisions you make about your gym.